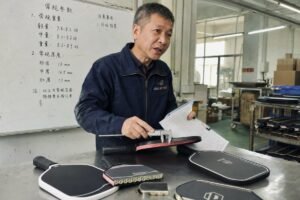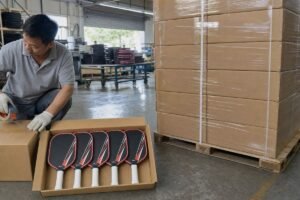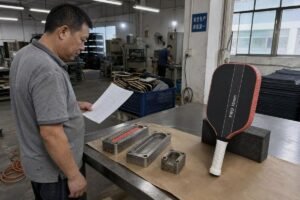
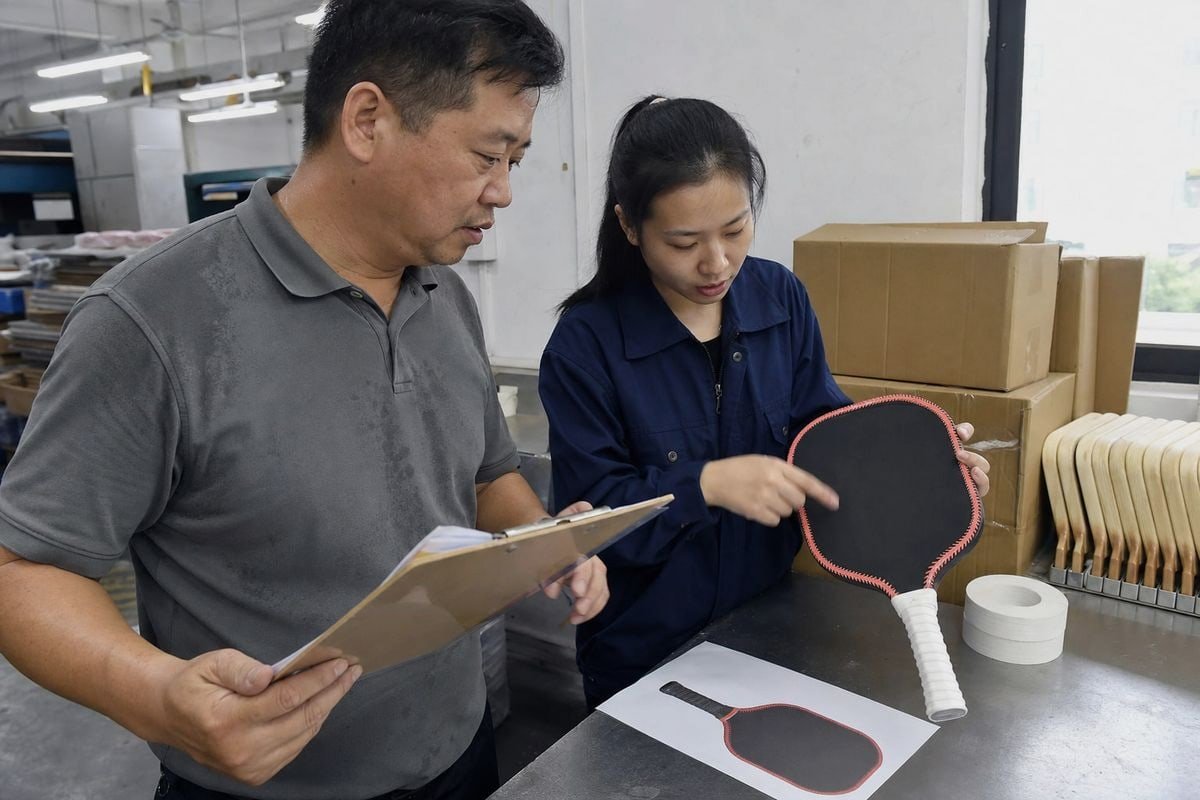
Vague briefs kill custom pickleball paddle projects. On our production line in Dongguan, I have watched unclear design requirements turn a two-week job into a two-month headache.
To communicate custom design requirements for pickleball paddles, send suppliers a written spec sheet covering player profile, paddle shape, core type, face material, weight range, and grip details, plus vector artwork files. Then confirm everything through a rendering and a physical pre-production sample before mass production.
That is the short answer. Below, I will walk you through each step, from preparing your brand assets to approving your final design proof.
How do I prepare my brand assets before contacting a paddle manufacturer?
Last year, a buyer from Manila sent us a screenshot of her logo pulled from Facebook. It looked fine on a phone. On a 16mm paddle face, it printed blurry.
Before contacting a paddle manufacturer, prepare vector logo files (AI or PDF) with fonts converted to outlines, exact Pantone color codes, brand guidelines, and separate high-resolution files for the edge guard, grip, and butt cap. Clean assets let suppliers produce accurate renderings within days.
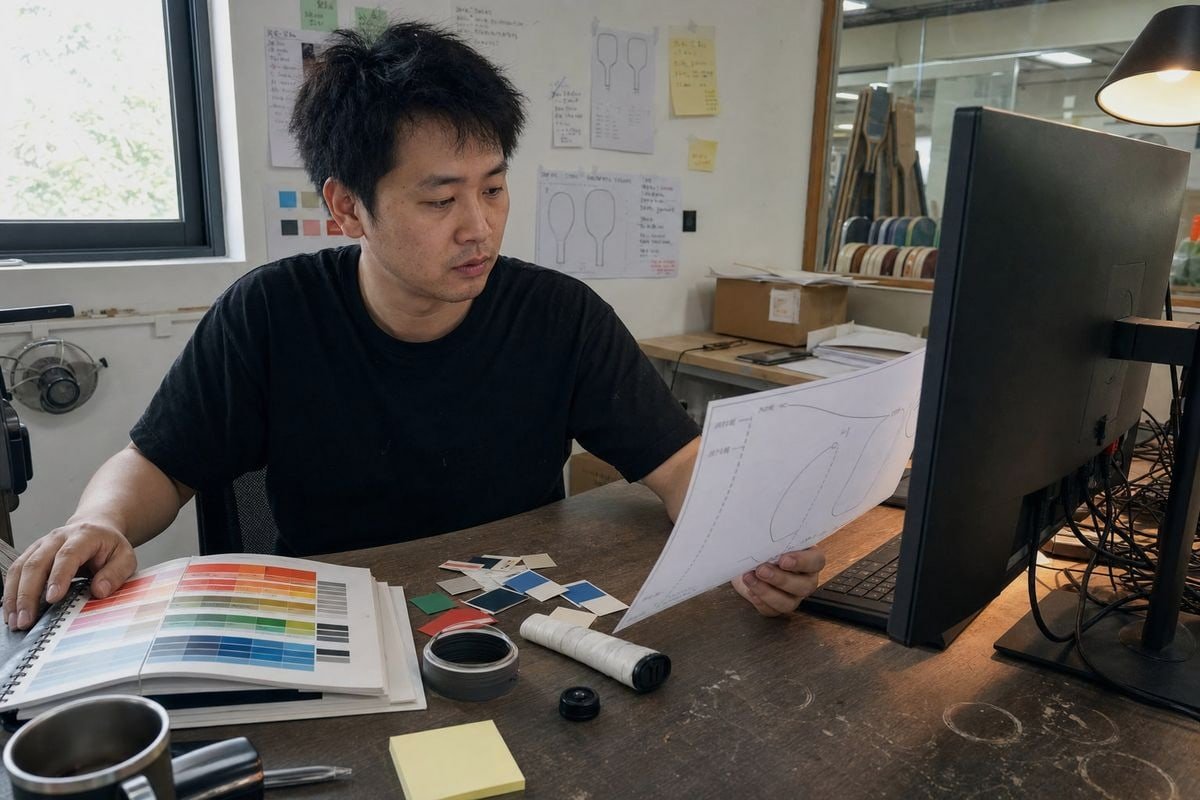
Our design team receives artwork every day, and I can tell within seconds whether a project will run smoothly. The difference almost always comes down to file preparation. Suppliers cannot fix a low-resolution JPEG. We can only print what you give us. So your first job is to build a complete brand asset package before you send the first message.
What a complete asset package looks like
Start with your primary logo 1 in vector format. AI, EPS, or editable PDF all work. Convert every font to outlines. If you skip this step, our computers may substitute a different font, and your proof will look wrong. Next, list your exact colors. Pantone codes are best. Screen colors shift between monitors, so "that blue from my website" is not a usable instruction.
Then think beyond the paddle face. A custom paddle carries branding in several small places. Each one needs its own file and its own decision.
| Brand Asset | Format Needed | Common Mistake |
|---|---|---|
| Main face artwork | Vector AI/PDF, fonts outlined | Sending a screenshot or low-res PNG |
| Edge guard tape logo | Separate high-res file | Assuming the face file covers it |
| Grip and grip ring logo | Vector logo plus color code | Forgetting the grip ring color entirely |
| Butt cap logo | Small circular vector version | Using a wide logo that will not fit |
| Color references | Pantone codes | Saying "match my website" |
In our experience exporting to the US, Canada, and the Philippines, buyers who also decide the grip ring color, the grip wrap color, and the butt cap color up front save at least one full revision round. These are the details customers touch every day. Ask your supplier for their technical template too. It shows bleed areas, the sweet spot zone, and where the edge guard overlaps the artwork. Designing inside that template prevents your logo from being cut off at the rim.
What technical specifications should I include when describing my custom paddle design?
There is a trade-off I discuss with almost every new brand owner: aesthetics first, or performance first? My advice is always the same. Freeze the performance spec, then decorate it.
Include the paddle shape, face material, core type and thickness, target weight range, balance point, handle length, grip circumference, edge guard style, and surface texture. Suppliers need measurable parameters, not vague words like "premium" or "powerful," to build the right paddle.
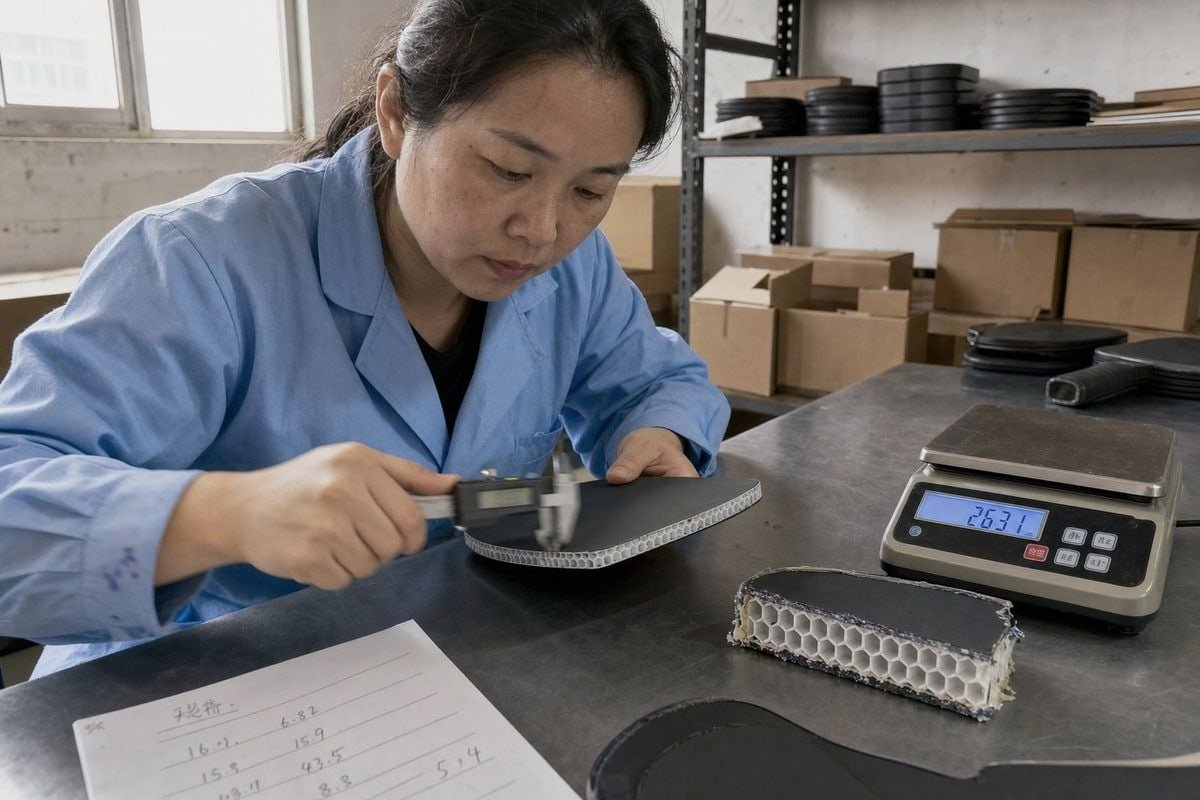
Words like "high quality" mean nothing on a production floor. Our engineers work from numbers and material codes. So your brief should translate the playing feel you want into selectable options. Here is how I break it down for buyers.
Shape, face, and core: the three big decisions
First, choose your shape. There are three main families. Elongated shapes give more reach and power, and they suit singles players and aggressive hitters. Widebody shapes give a larger sweet spot, which beginners and control-focused doubles players love. Hybrid shapes sit in the middle and are the safest choice for a first product line.
Second, choose your carbon fiber 3 face material. This drives feel, spin, and cost.
| Face Material | Character | Best For |
|---|---|---|
| T700 raw carbon | Strong spin grip, crisp feel | Performance and tournament lines |
| 3K carbon weave | Balanced, classic woven look | Mid-to-high-end all-round paddles |
| 12K carbon weave | Softer flex, larger sweet spot | Control-oriented players |
| 18K carbon weave | Fine weave, premium finish | Flagship models |
| Titanium wire blend | Extra stiffness and durability | Power-focused designs |
| Kevlar blend | Dampened feel, distinctive look | Touch players and unique branding |
Third, specify the core. A basic polypropylene honeycomb core 4 comes in generations — Gen3, Gen4, and Gen5 PP honeycomb — with newer generations offering better consistency and feel. Beyond honeycomb, foam-based cores are the current trend: EPP+EVA and MPP+EVA give a plush, quiet response, while EPP or MPP paired with a blown-air carbon fiber frame, or PP honeycomb with a blown-air frame, enlarge the sweet spot and boost stability in thermoformed unibody builds. State the thickness clearly too: 16mm favors control, 14mm favors power, and 13mm is the fastest of the three.
Weight, balance, and handle details
Do not stop at "around 8 oz." Give a target weight range 5 such as 230±5g, and if you serve advanced players, add the balance point distance from the butt cap and even swing weight targets in kg·cm². Then lock the handle: length (roughly 133–145mm), grip circumference (106–108mm is typical), and your preferred grip size and texture. Longer handles support two-handed backhands. Finally, decide between edge guard customization and an edgeless build, and specify the surface texture, since spin depends on it.
How can I avoid miscommunication when working with an overseas pickleball paddle supplier?
One of our long-term buyers communicates almost entirely through short WhatsApp messages. Few words, but every message includes a number, a photo, or a file. Her orders almost never need revisions. That taught me something.
Avoid miscommunication by using simple direct language, numbered spec sheets, visual references, and written confirmations after every call. Clarify OEM vs ODM scope, Minimum Order Quantity, lead times, and quality assurance protocols in writing before paying any deposit.
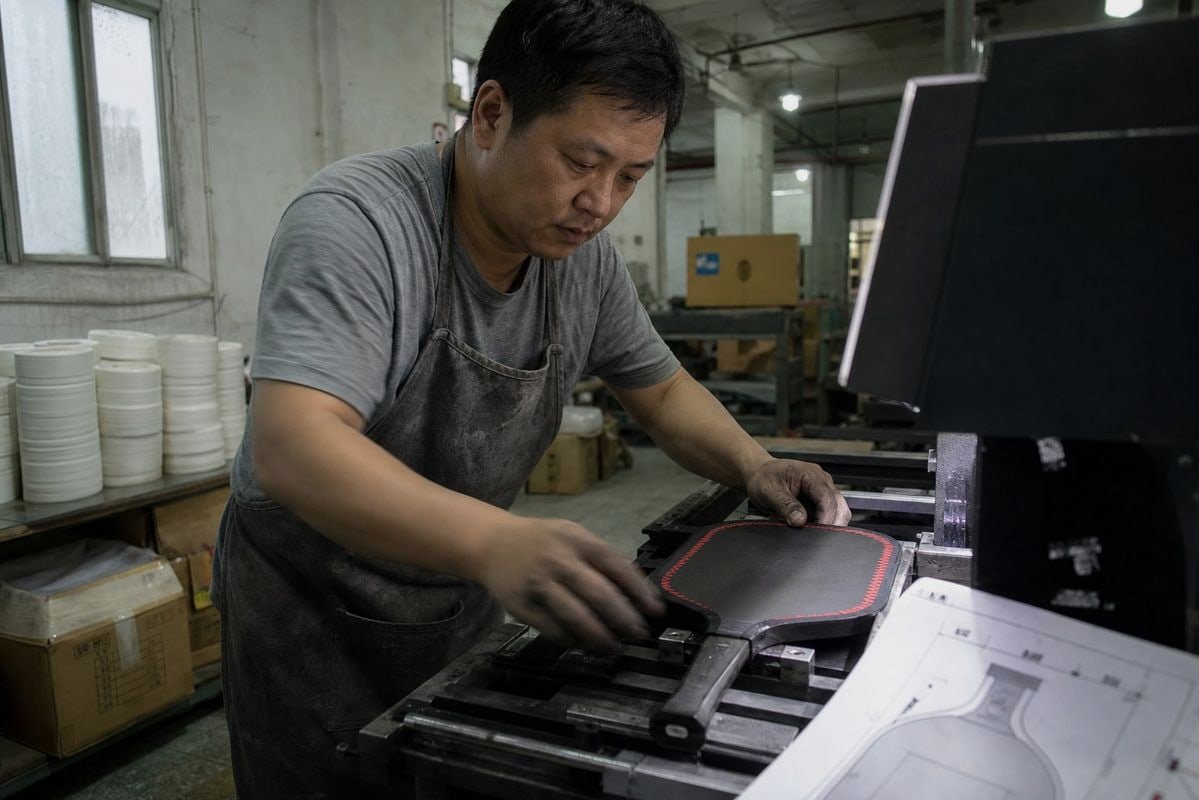
Distance and language gaps are real, but in my experience they are not the main cause of failed projects. Assumptions are. The buyer assumes the factory knows what "standard grip" means. The factory assumes the buyer accepts their default edge guard. Nobody writes it down. Three weeks later, both sides are frustrated.
Practical habits that prevent misunderstandings
Here is the process I recommend to every new client, based on years of shipping to the United States, Australia, Italy, and Southeast Asia:
- Send one master spec sheet, not scattered messages. Number every item. When something changes, update the sheet and re-send it with a new version number.
- Use pictures for everything visual. A reference photo of a grip color beats three paragraphs describing it. If you have CAD files or sketches, attach them.
- Confirm calls in writing. After every video call, send a short summary: "We agreed on Gen5 PP honeycomb core, 16mm, T700 face, white grip, black butt cap with logo." Ask the supplier to reply "confirmed."
- Clarify the business model early. OEM vs ODM manufacturing changes who owns the mold, the artwork, and the design. Put ownership terms in the agreement.
- Ask hard questions before the deposit. What is the Minimum Order Quantity per design? What is the sample lead time versus mass production lead time? What quality assurance protocols apply — weight tolerance, artwork alignment checks, drop tests?
- Verify the factory itself. Request production-floor photos or a live video walkthrough, recent client references, and a production-run sample rather than a polished showroom sample.
At our Qiaotou facility, we actually prefer buyers who ask these questions. Detailed buyers get better paddles, because clarity flows straight into production instructions.
What should I check in a design proof before approving mass production?
Early in our OEM work, a client approved a digital rendering in one hour and skipped the physical sample to save a week. The colors printed darker than his screen showed. We reprinted the batch, but the lesson stuck with me.
Check the design proof for color accuracy against Pantone codes, logo placement on the face, edge guard, grip, and butt cap, spelling, artwork alignment with the sweet spot, weight and balance figures, surface texture, and USAPA compliance. Always test a physical pre-production sample before approving.
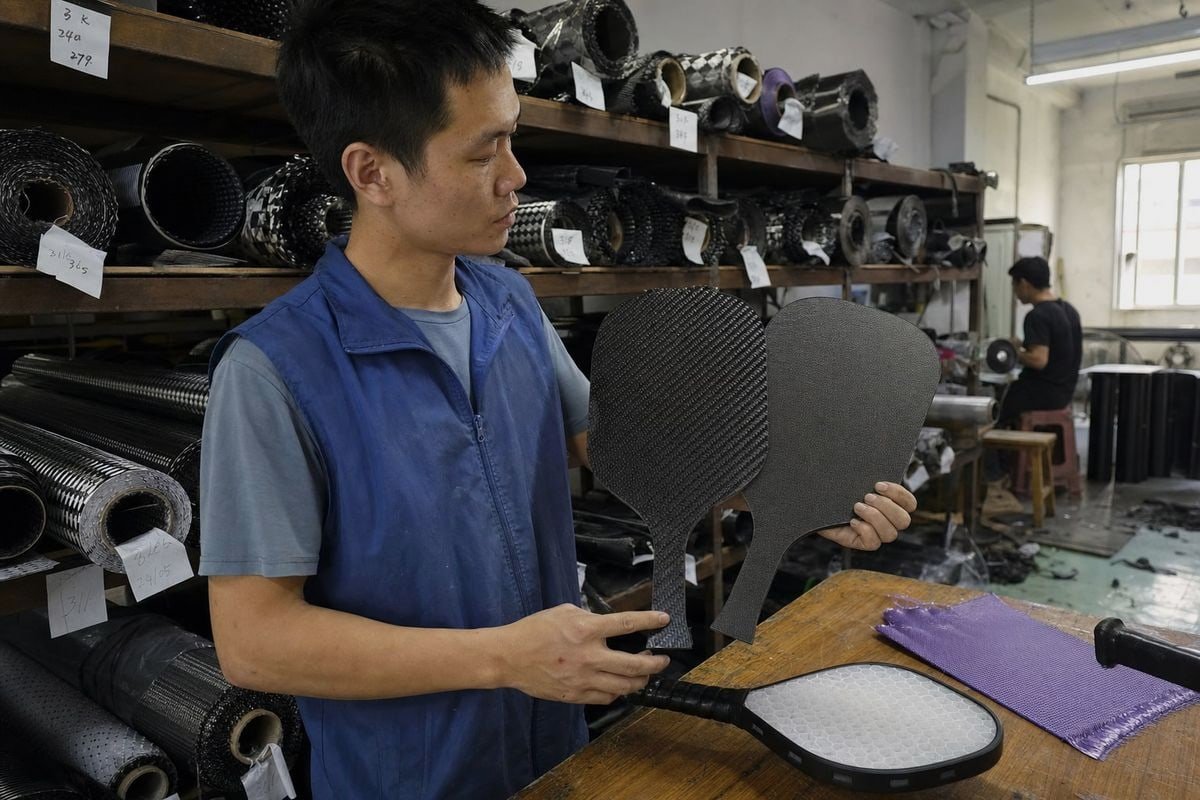
A design proof usually arrives in two stages. First comes the digital rendering, which we typically send within one working day after requirements are confirmed. Then comes the physical sample, which takes about five to seven days on our line. Both stages matter, and they check different things.
Digital proof versus physical sample
The rendering checks intent. The sample checks reality. Screens cannot show texture, weight, or how UV digital printing sits on a brushed carbon surface. Only a paddle in your hand can.
| Check Item | Digital Rendering | Physical Sample |
|---|---|---|
| Logo placement and spelling | ✔ Verify carefully | ✔ Verify again |
| Color accuracy | Approximate only | ✔ Match to Pantone under daylight |
| Surface texture and spin feel | ✘ Not possible | ✔ Hit real balls with it |
| Weight, balance, swing weight | Listed on spec | ✔ Weigh and measure yourself |
| Grip ring, grip, butt cap colors | ✔ Visual check | ✔ Touch and durability check |
| USAPA equipment standards | Design-level review | ✔ Texture and roughness within limits |
The sign-off checklist I give buyers
Order three to five samples, not one. Weigh each paddle to confirm your tolerance, such as 230±5g. Check that artwork aligns identically across all samples — batch consistency 6 is the real test of a factory. Play with them for a few sessions and watch for edge guard lifting or grip wear. Confirm the surface stays within USAPA equipment standards, since rough texturing beyond legal limits USA Pickleball equipment standards 7 can make the paddle illegal for sanctioned play, no matter how good it looks. Finally, freeze the SKU in writing: model name, shape, materials, core, thickness, weight range, artwork version number, and packaging text. Once you sign off, that sample becomes the golden reference for the whole prototype development process and every future batch.
Conclusion
Unclear briefs waste money and months. Send a complete spec sheet, clean vector assets, and approve a physical sample first — and your custom paddle will be right the first time.
Footnotes
1. Defines the role and importance of a primary logo in brand identity and manufacturing. ↩︎
2. Authoritative Wikipedia entry covering digital printing technologies and processes. ↩︎
3. Technical overview of carbon fiber properties and its use in high-performance materials. ↩︎
4. Authorit